
Laying a floating floor is one of the few renovation jobs that is genuinely beginner-friendly: no glue, no nails, just boards that click together. Two people can do a 12 m² room in a day. But the difference between a flawless floor and one that creaks, lifts or gaps between the boards is decided almost entirely before the first board goes down.
This guide covers all of it: subfloor preparation, layout planning, laying, tricky cuts and finishing.
Floating, laminate, engineered: what’s the difference?
These three words don’t mean the same thing, and the confusion is common:
- Floating describes the installation method: the boards are neither glued nor nailed to the subfloor. They form a single connected surface that “floats” freely on an underlay.
- Laminate describes a product: a fibreboard core topped with a printed decor layer and a wear layer. It’s the most common, the most affordable, and the one shown in the photos in this guide.
- Engineered wood describes another product: a plywood core topped with a genuine hardwood veneer. More expensive, warmer underfoot, and laid in exactly the same way.
The technique described here applies to both products as long as they use a click system.
Choosing your boards
Before you buy, check two things on the packaging:
- The usage class. 21 to 23 for domestic use (23 = high-traffic rooms such as living rooms and hallways), 31 to 33 for commercial use. A bedroom is fine with class 21-22; an entrance hall or corridor deserves 23 or 31.
- Underfloor heating compatibility, if relevant. It is always stated explicitly, and it also requires an underlay with low thermal resistance.
Buy 10% more than the floor area to cover offcuts and waste. For a heavily cut-up room or a diagonal layout, go to 15%. Buy it all at once and check that the packs share the same batch number: the decor shade can vary slightly between production runs.
Tools and materials you’ll need
Tools
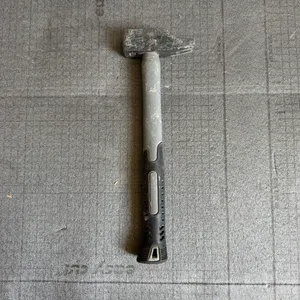 Hammer
Always strike the block, never the board
Hammer
Always strike the block, never the board
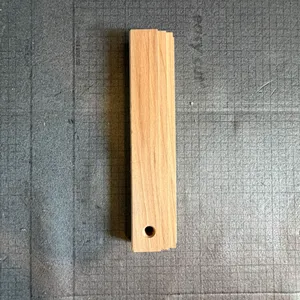 Tapping block
Protects the groove while closing joints
Tapping block
Protects the groove while closing joints
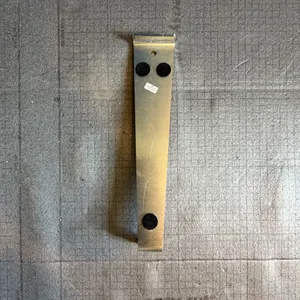 Pull bar
Essential for the last row and along walls
Pull bar
Essential for the last row and along walls
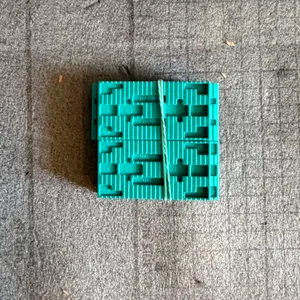 Spacers
8 to 10 mm — have around twenty ready
Spacers
8 to 10 mm — have around twenty ready
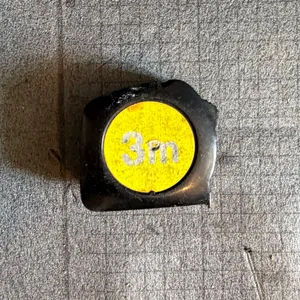 Tape measure
3 m minimum
Tape measure
3 m minimum
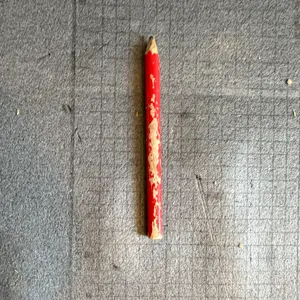 Carpenter's pencil
Wide, clearly visible line on the decor
Carpenter's pencil
Wide, clearly visible line on the decor
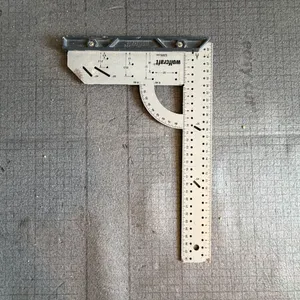 Square
For marking truly perpendicular cuts
Square
For marking truly perpendicular cuts
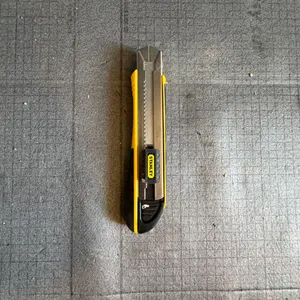 Utility knife
For trimming the underlay
Utility knife
For trimming the underlay
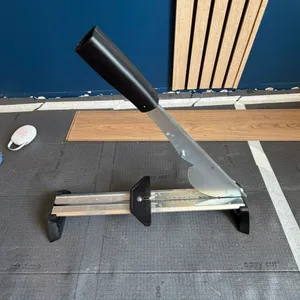 Laminate cutter
Clean cuts with no dust and no noise
Laminate cutter
Clean cuts with no dust and no noise
The laminate cutter (guillotine) deserves a special mention. It costs about the same as a day’s hire, cuts a board in one second with no dust and no noise, and lets you work inside the room itself. For straight cross cuts it beats a jigsaw hands down — keep the jigsaw for rip cuts and cutting around obstacles.
Materials
Step 1: acclimatise the boards
This is the step everyone skips, and the one that causes the most failures. Laminate and wood expand with temperature and humidity. Laid too cold, the boards swell afterwards and the floor cups or lifts.
- Store the packs flat for 48 hours in the room where they will be laid, still sealed
- Room temperature between 15 and 20 °C, relative humidity between 40 and 65%
- Don’t stand them on edge against a wall, and don’t leave them stacked in the garage
Use those 48 hours to prepare the subfloor.
Step 2: prepare the subfloor
A floating floor corrects nothing: it reproduces every defect underneath. Each high spot becomes a pressure point where the click joint eventually fails; each hollow becomes a patch that sounds empty underfoot.
Check how flat it is
Run a 2 m straightedge across the floor in every direction. The maximum acceptable deviation is 3 mm under the straightedge. Beyond that:
- A localised hollow can be filled with ready-mixed levelling compound
- A generally uneven floor needs self-levelling compound over the whole area
- An old timber floor that moves should be overlaid with screwed-down plywood or OSB
Check it’s clean and dry
The subfloor must be dry, clean and dust-free. On a concrete slab, do the plastic-sheet test: tape a 50 × 50 cm piece of plastic sheet down airtight and leave it 24 hours. If condensation appears underneath, the slab is still damp — stop there. You’ll need a polythene vapour barrier at minimum, possibly more drying time.
Finally, vacuum thoroughly: a single piece of grit trapped under a board can be heard with every step.
Step 3: roll out the underlay
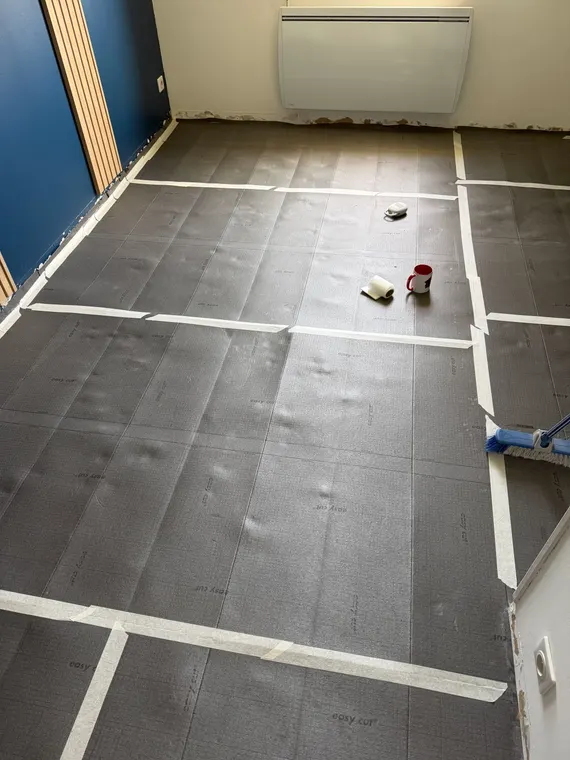
The underlay does three jobs: it absorbs micro-irregularities, it provides sound insulation (essential upstairs) and it protects against residual moisture.
- Roll the strips perpendicular to the direction of the boards
- Lay them edge to edge, never overlapping — an overlap creates a ridge you will feel underfoot
- Join the strips with the proper underlay tape
- Run the underlay a few centimetres up the walls if it acts as a vapour barrier; you’ll trim it at the end
- Cut it as you go rather than covering the whole room at once — you’ll walk on it less
On a concrete slab, add a polythene sheet under the underlay if it doesn’t already include a vapour barrier.
Step 4: choose the direction and plan the layout
Which way to run the boards
Three rules, in order of priority:
- In the direction of the natural light, i.e. perpendicular to the wall with the main window. The joints between boards then become almost invisible.
- Along the longest dimension of the room: fewer cuts, faster laying, and the room looks larger.
- Perpendicular to the existing boards if you’re laying over an old timber floor.
When these rules conflict, light wins in a living space and length wins in a corridor.
Working out the last row
Do this before laying anything. Divide the room width by the width of one board:
Room 320 cm wide, boards 19 cm wide → 320 ÷ 19 = 16.8 rows
That leaves 0.8 × 19 ≈ 15 cm for the last row. Comfortable.
If the remainder falls below 5 cm, don’t lay it that way: a narrow sliver clicks in badly, snaps during installation and is clearly visible. Rip the first row narrower to share the difference between the first and last rows. Two 10 cm rows always beat one full row and one 2 cm strip.
Apply the same reasoning lengthways for the boards at the end of each row.
Step 5: lay the first row
This row determines every row after it. Take your time.
- Start in the most visible corner of the room and work left to right
- Place the board with the tongue facing the wall, and cut that tongue off with a knife or saw: it would stop the board sitting tight
- Slide spacers between the wall and the board, at least two per board
- Join boards end to end by presenting them at an angle and dropping them flat
- Cut the last board of the row to length, spacers included
The expansion gap: the one non-negotiable rule
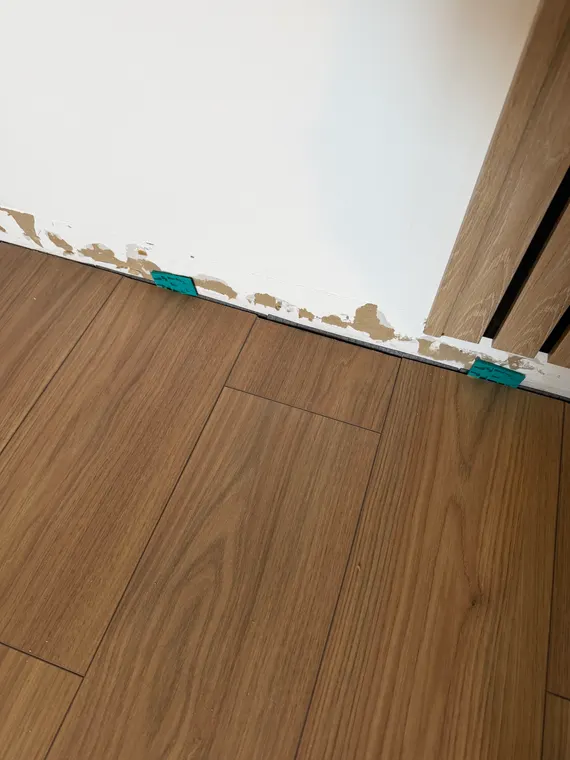
A floating floor moves. It swells in summer and shrinks in winter. If it can’t move, it lifts into a dome in the middle of the room — and the only cure at that point is to take the whole thing up.
So leave 8 to 10 mm of clearance all round:
- Against every wall
- Around every heating pipe
- Against door thresholds, fireplaces and posts
- Against anything fixed and heavy
Above all: the floor must not be pinned down anywhere. A skirting board screwed through the boards, a kitchen unit standing on the floor, a sliding wardrobe track screwed into it — any one of these defeats the whole principle.
Beyond 8 metres in one direction, or when moving from one room to another, plan an intermediate expansion joint hidden under a threshold strip.
Step 6: lay the remaining rows
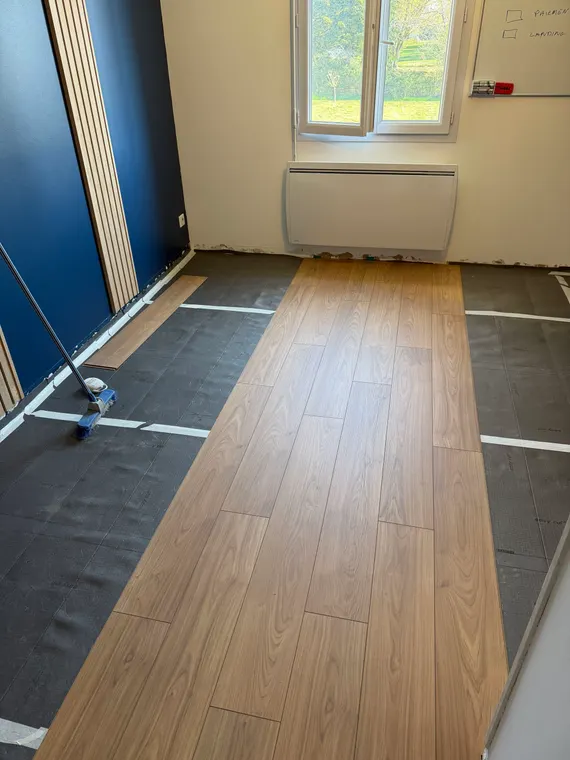
Once the first row is locked in place, progress gets fast: you work row by row across the room, always in the same direction.
Stagger the joints
End joints in adjacent rows must be staggered by at least 30 cm (40 cm on wide boards). A regular offset — always a third of a board, for instance — produces a staircase pattern that catches the eye. Vary the lengths for a natural look.
Good practice: start each row with the offcut from the previous one, provided it’s longer than 30 cm. You waste less and the stagger happens naturally.
Click the boards together properly
- Present the board at a 20-30° angle against the row already laid
- Drop it flat: the click should happen without forcing
- Then engage the short edge with the previous board
- If a gap remains, hold the tapping block against the edge and give it a few sharp taps with the hammer
Never hit the board directly with the hammer: you’ll crush the tongue or the groove and it will no longer lock. That’s exactly what the tapping block is for.
Check every three or four rows that everything is still aligned and that the spacers haven’t shifted.
Cutting around obstacles
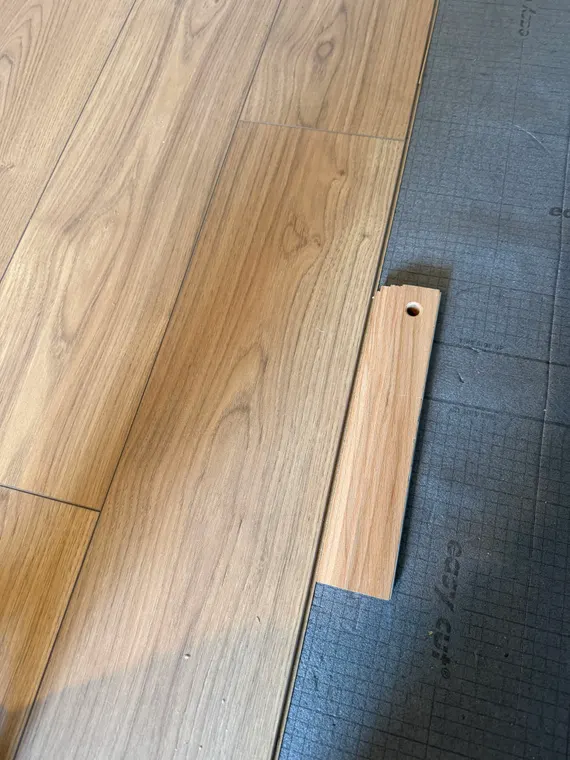
- Radiator pipes: drill a hole 16 mm larger than the pipe diameter (8 mm clearance all round), then saw the offcut off at an angle behind the hole. You refit that piece once the board is in place, and a pipe collar hides the joint.
- Door casings: don’t cut the board around the casing. Instead, lay a board upside down on the floor as a height guide and undercut the casing with a flush-cut saw. The board slides underneath and the finish is invisible.
- Corners and alcoves: transfer the measurements to the board with a square, never forgetting to subtract 8 mm on the wall side, and cut with a jigsaw (decor face up with a standard blade, face down with a down-cut blade — it’s the exit side of the teeth that chips).
Step 7: the last row and finishing
The last row
This is where the pull bar becomes indispensable: against the wall there’s no room left to angle the board in or to swing a hammer at a tapping block.
- Measure the remaining width at several points along the row — walls are rarely parallel
- Transfer those measurements to the board, subtracting the 8 mm gap
- Rip it to width with the jigsaw
- Present the board, then hook the pull bar over the edge and tap the other end with the hammer to close the joint
Finishing
- Remove every spacer, without exception
- Trim the underlay running up the walls with a utility knife
- Fit skirting or beading, fixing it to the wall only, never into the floor
- Install threshold strips at doorways
- In a kitchen or near water, replace the perimeter gap with a flexible silicone joint rather than a rigid filler
- Vacuum, then mop with a barely damp cloth
Wait 24 hours before moving heavy furniture back in, and fit felt pads under chair legs.
The mistakes that cost the most
- Skipping acclimatisation — the floor cups or gaps a few weeks later
- Ignoring how flat the subfloor is — pressure points, failed click joints, hollow-sounding patches
- Forgetting or shrinking the expansion gap — the floor domes and has to come back up
- Screwing skirting through the boards — the floor is pinned, same result
- Hitting the board directly with the hammer — crushed groove, ruined board
- Overlapping the underlay strips — ridges you can feel underfoot
- Aligning joints between rows — the floor loses strength and looks terrible
- Finishing on a strip under 5 cm — it snaps during laying and shows
- Laying standard laminate in a bathroom — unless it’s a specific water-resistant range, the core swells for good
- Mixing packs from different batches — a visible shade difference in daylight
Preview your floor before you buy it with Fenchoui
Once the boards are down, the colour decision is irreversible — and a 20 cm sample under shop lighting tells you very little about how it will look across 20 m².
With the Fenchoui app, photograph your room and try different floors directly on your own surfaces: light oak, dark wood, grey tones, different board formats. You see the result immediately in your own lighting, with your walls and your furniture.
It lets you:
- Compare several species and shades side by side
- Check how the floor works with your wall colour
- Judge how much larger the room looks depending on the laying direction
- Decide together as a family before ordering several hundred euros’ worth of boards
Laying a floating floor takes method rather than muscle. A subfloor prepared to the millimetre, acclimatisation respected, and 8 mm of expansion gap everywhere: get those three right and the rest is just patience and careful cuts. Enjoy the job!