
How to paint a wall like a pro: tips and tricks
Painting a wall might seem straightforward, but achieving a professional-looking finish requires proper technique and preparation. Whether you’re refreshing a room with a new color or covering up marks and scuffs, this comprehensive guide will help you get perfect results every time.
Why proper technique matters
A well-painted wall can transform a room, making it feel fresh, clean, and inviting. Poor technique, on the other hand, can result in streaks, drips, uneven coverage, and visible brush marks. Taking the time to do it right the first time saves you from costly touch-ups.
Tools and materials you’ll need
Before you start, gather all your supplies:
Essential tools
 Paint roller
9-inch for walls, 4-inch for tight spaces
Paint roller
9-inch for walls, 4-inch for tight spaces
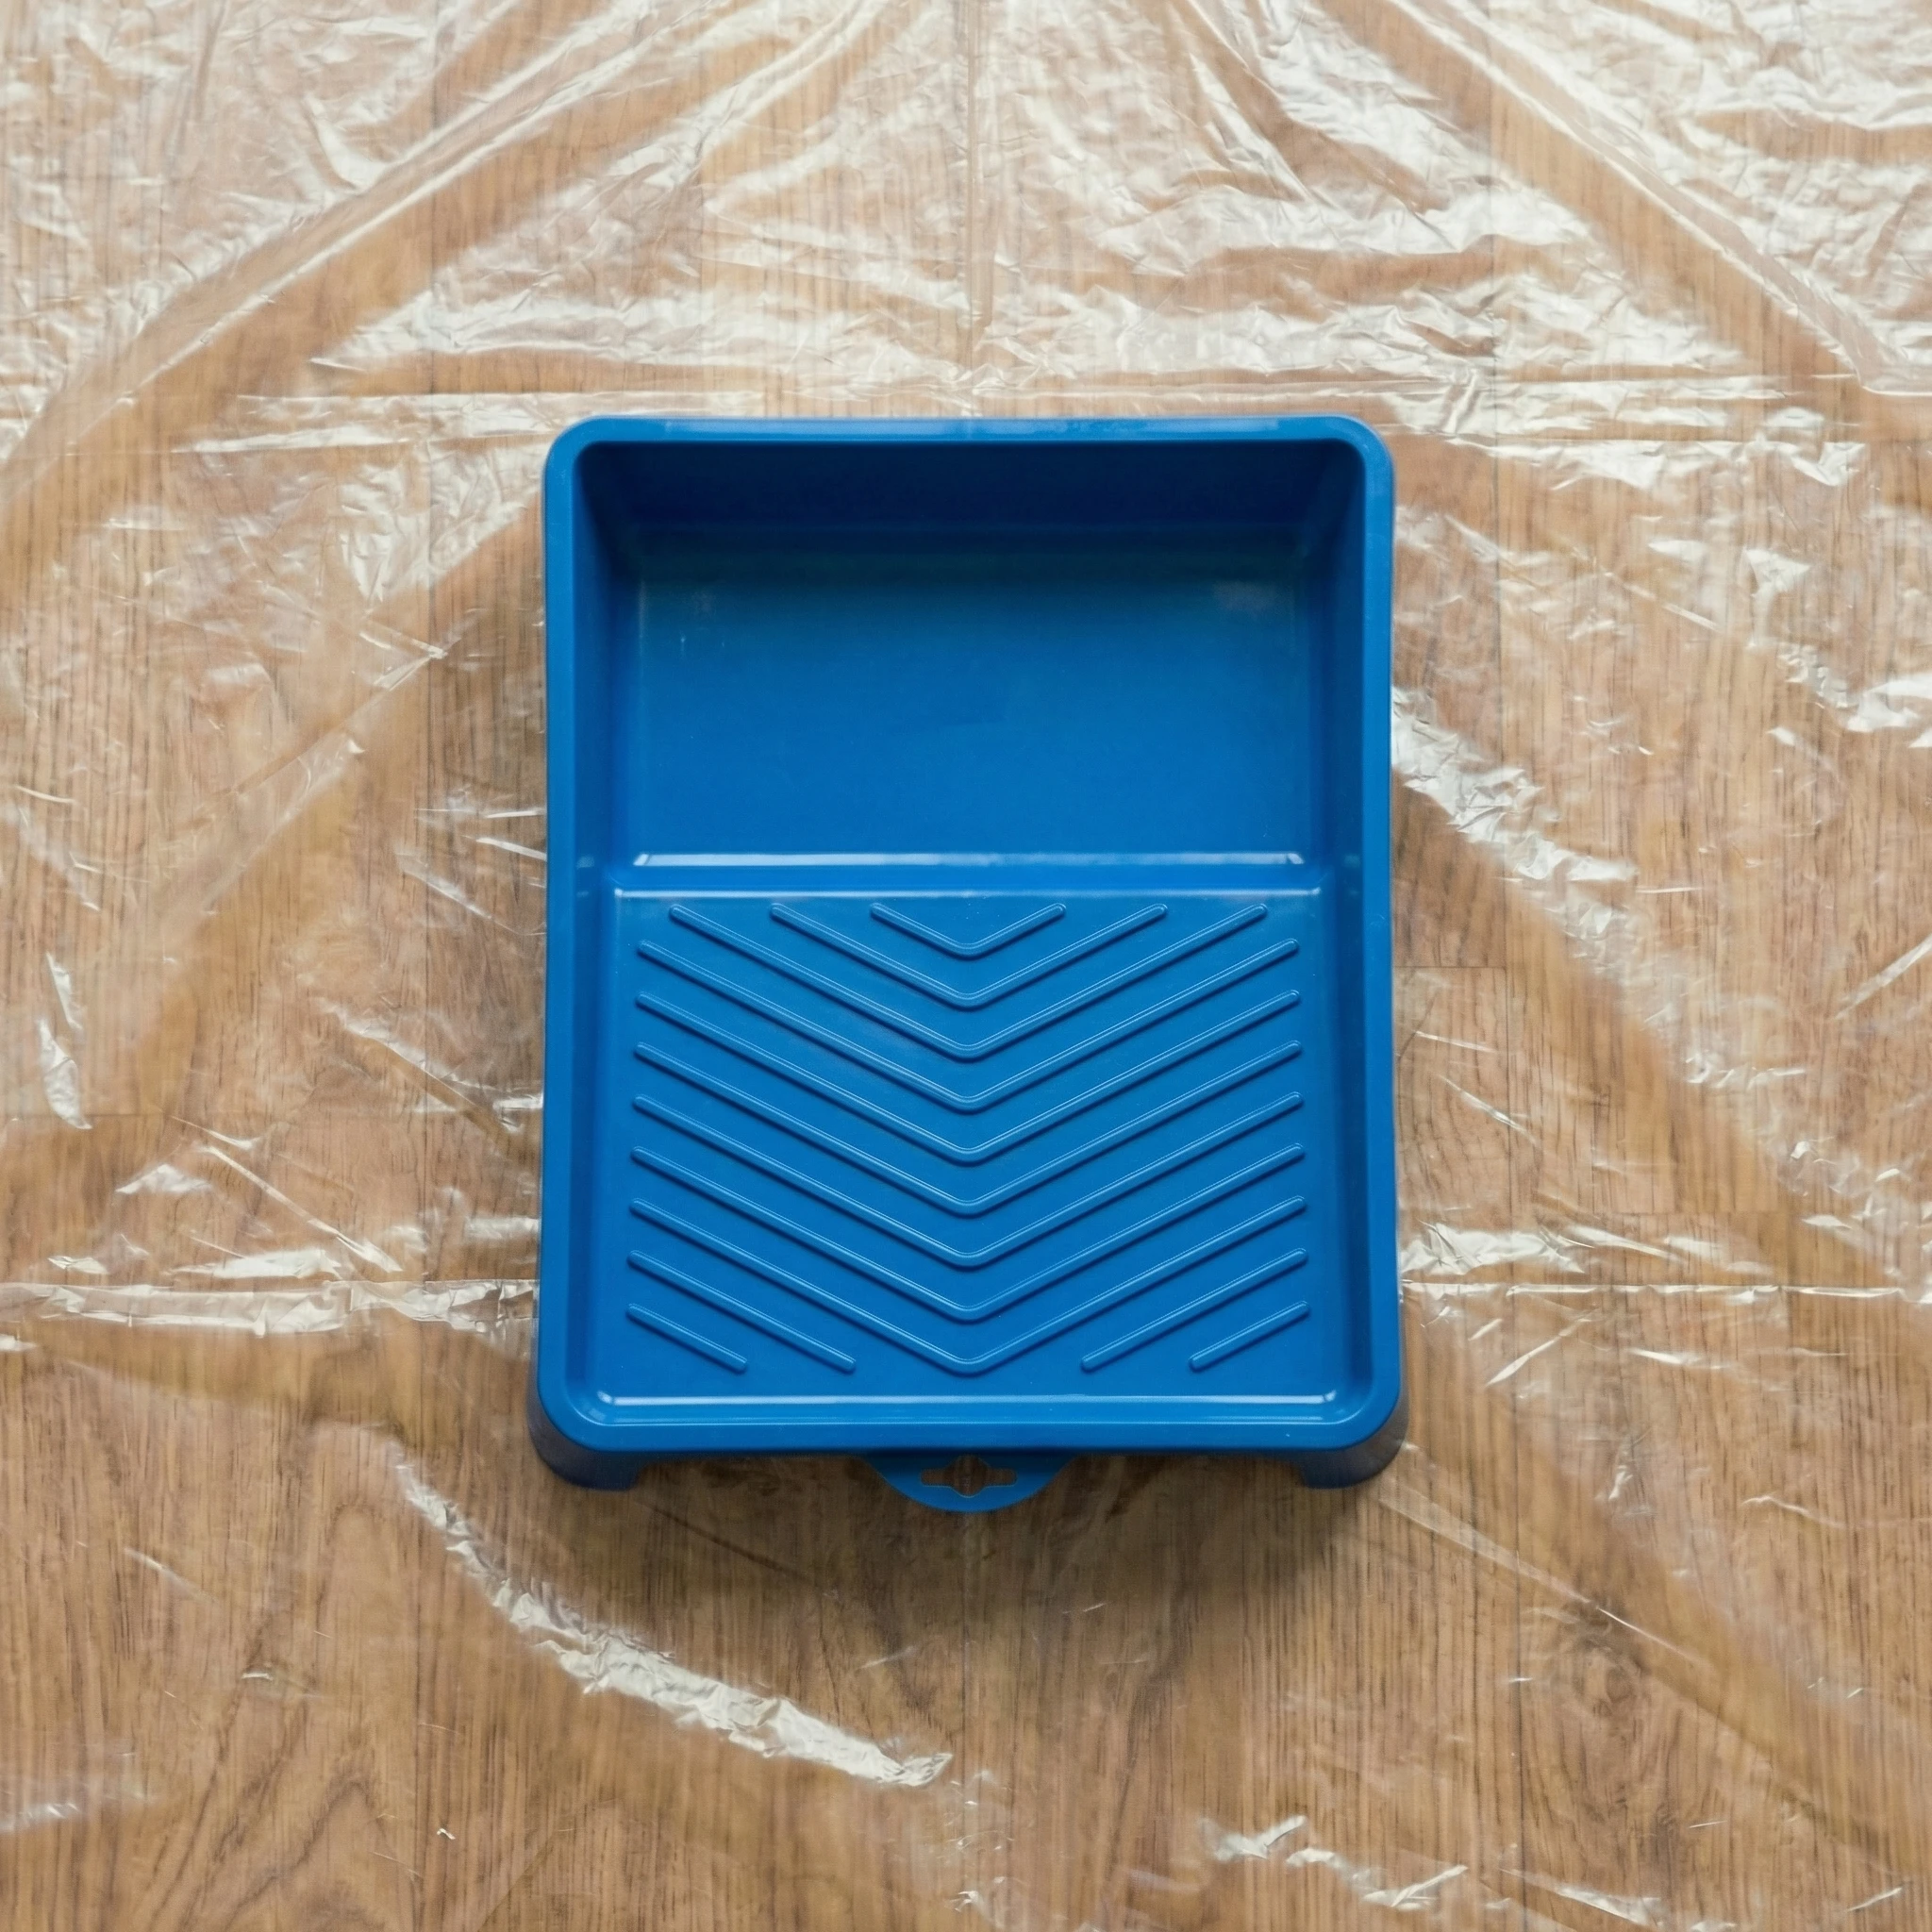 Paint tray
With ramp to remove excess paint
Paint tray
With ramp to remove excess paint
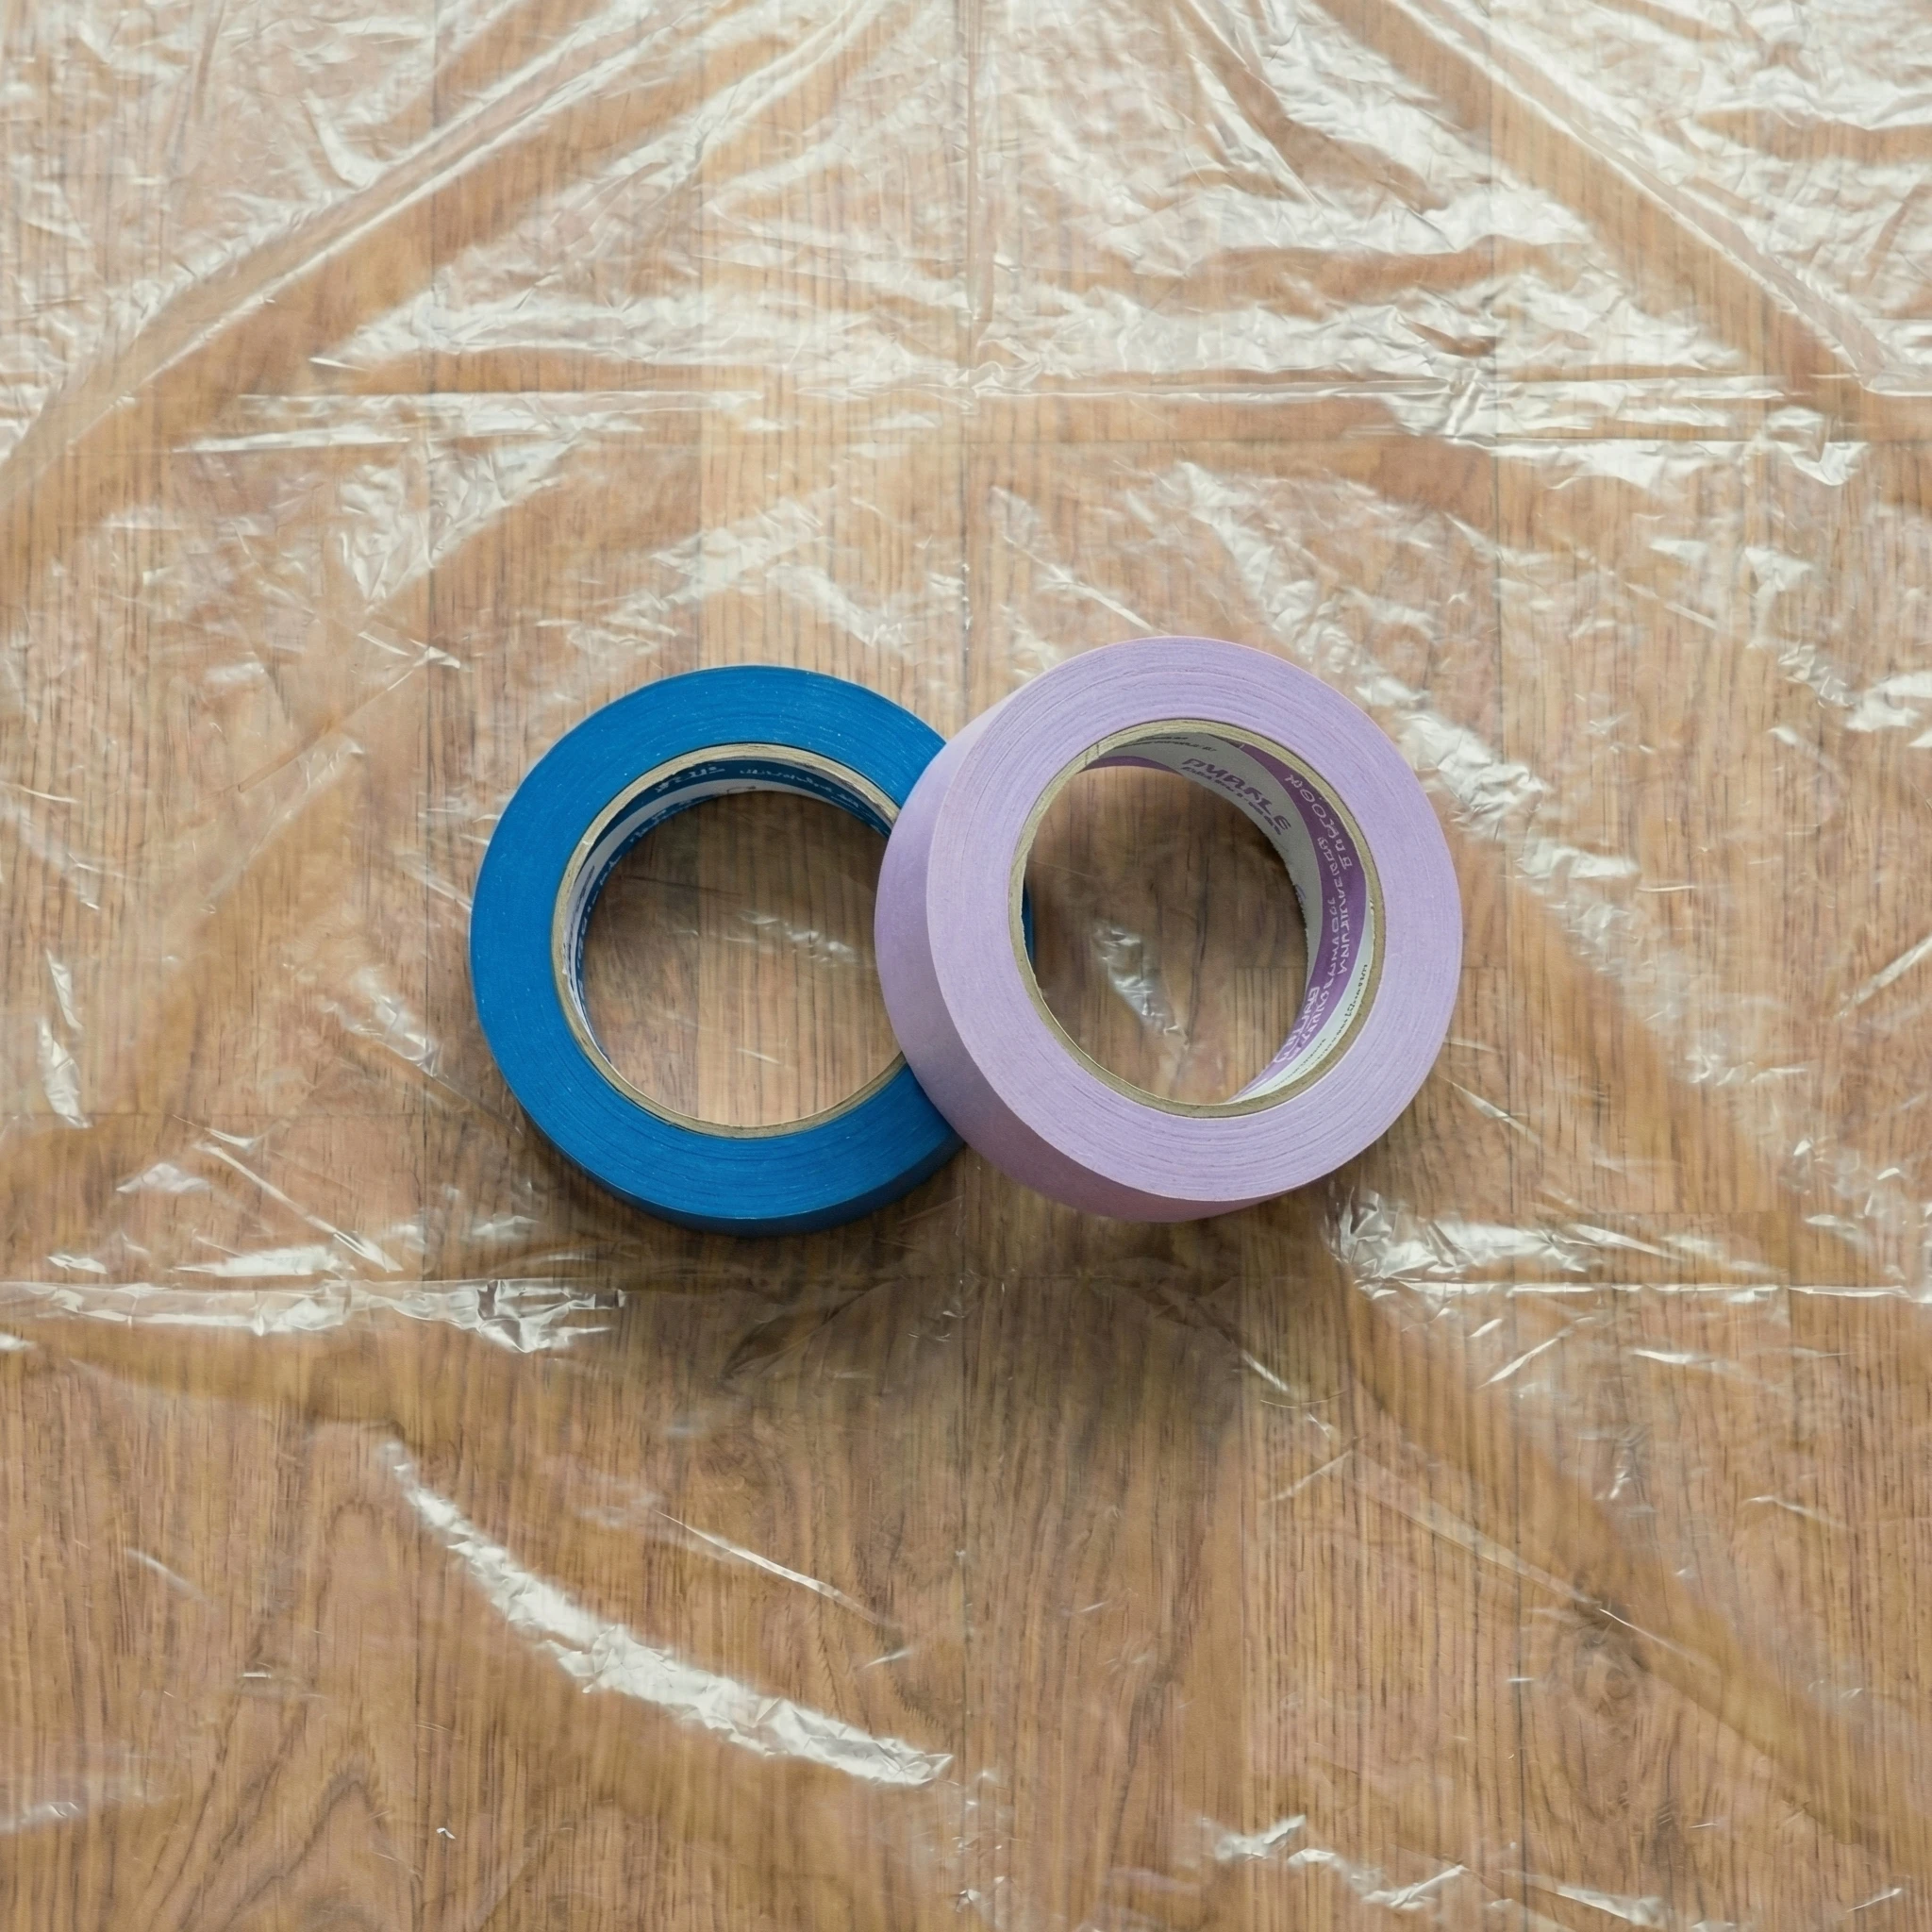 Painter's tape
Blue or purple for delicate surfaces
Painter's tape
Blue or purple for delicate surfaces
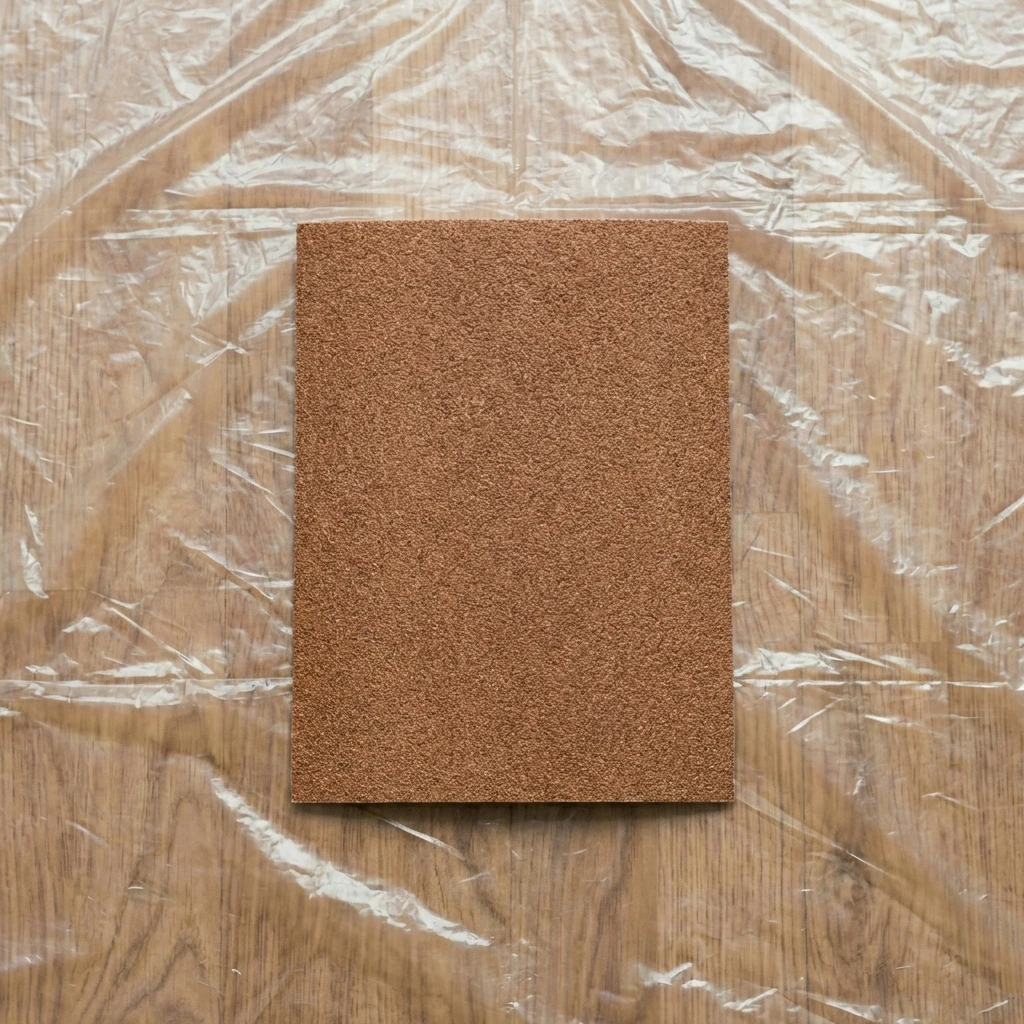 Sandpaper
120-220 grit
Sandpaper
120-220 grit
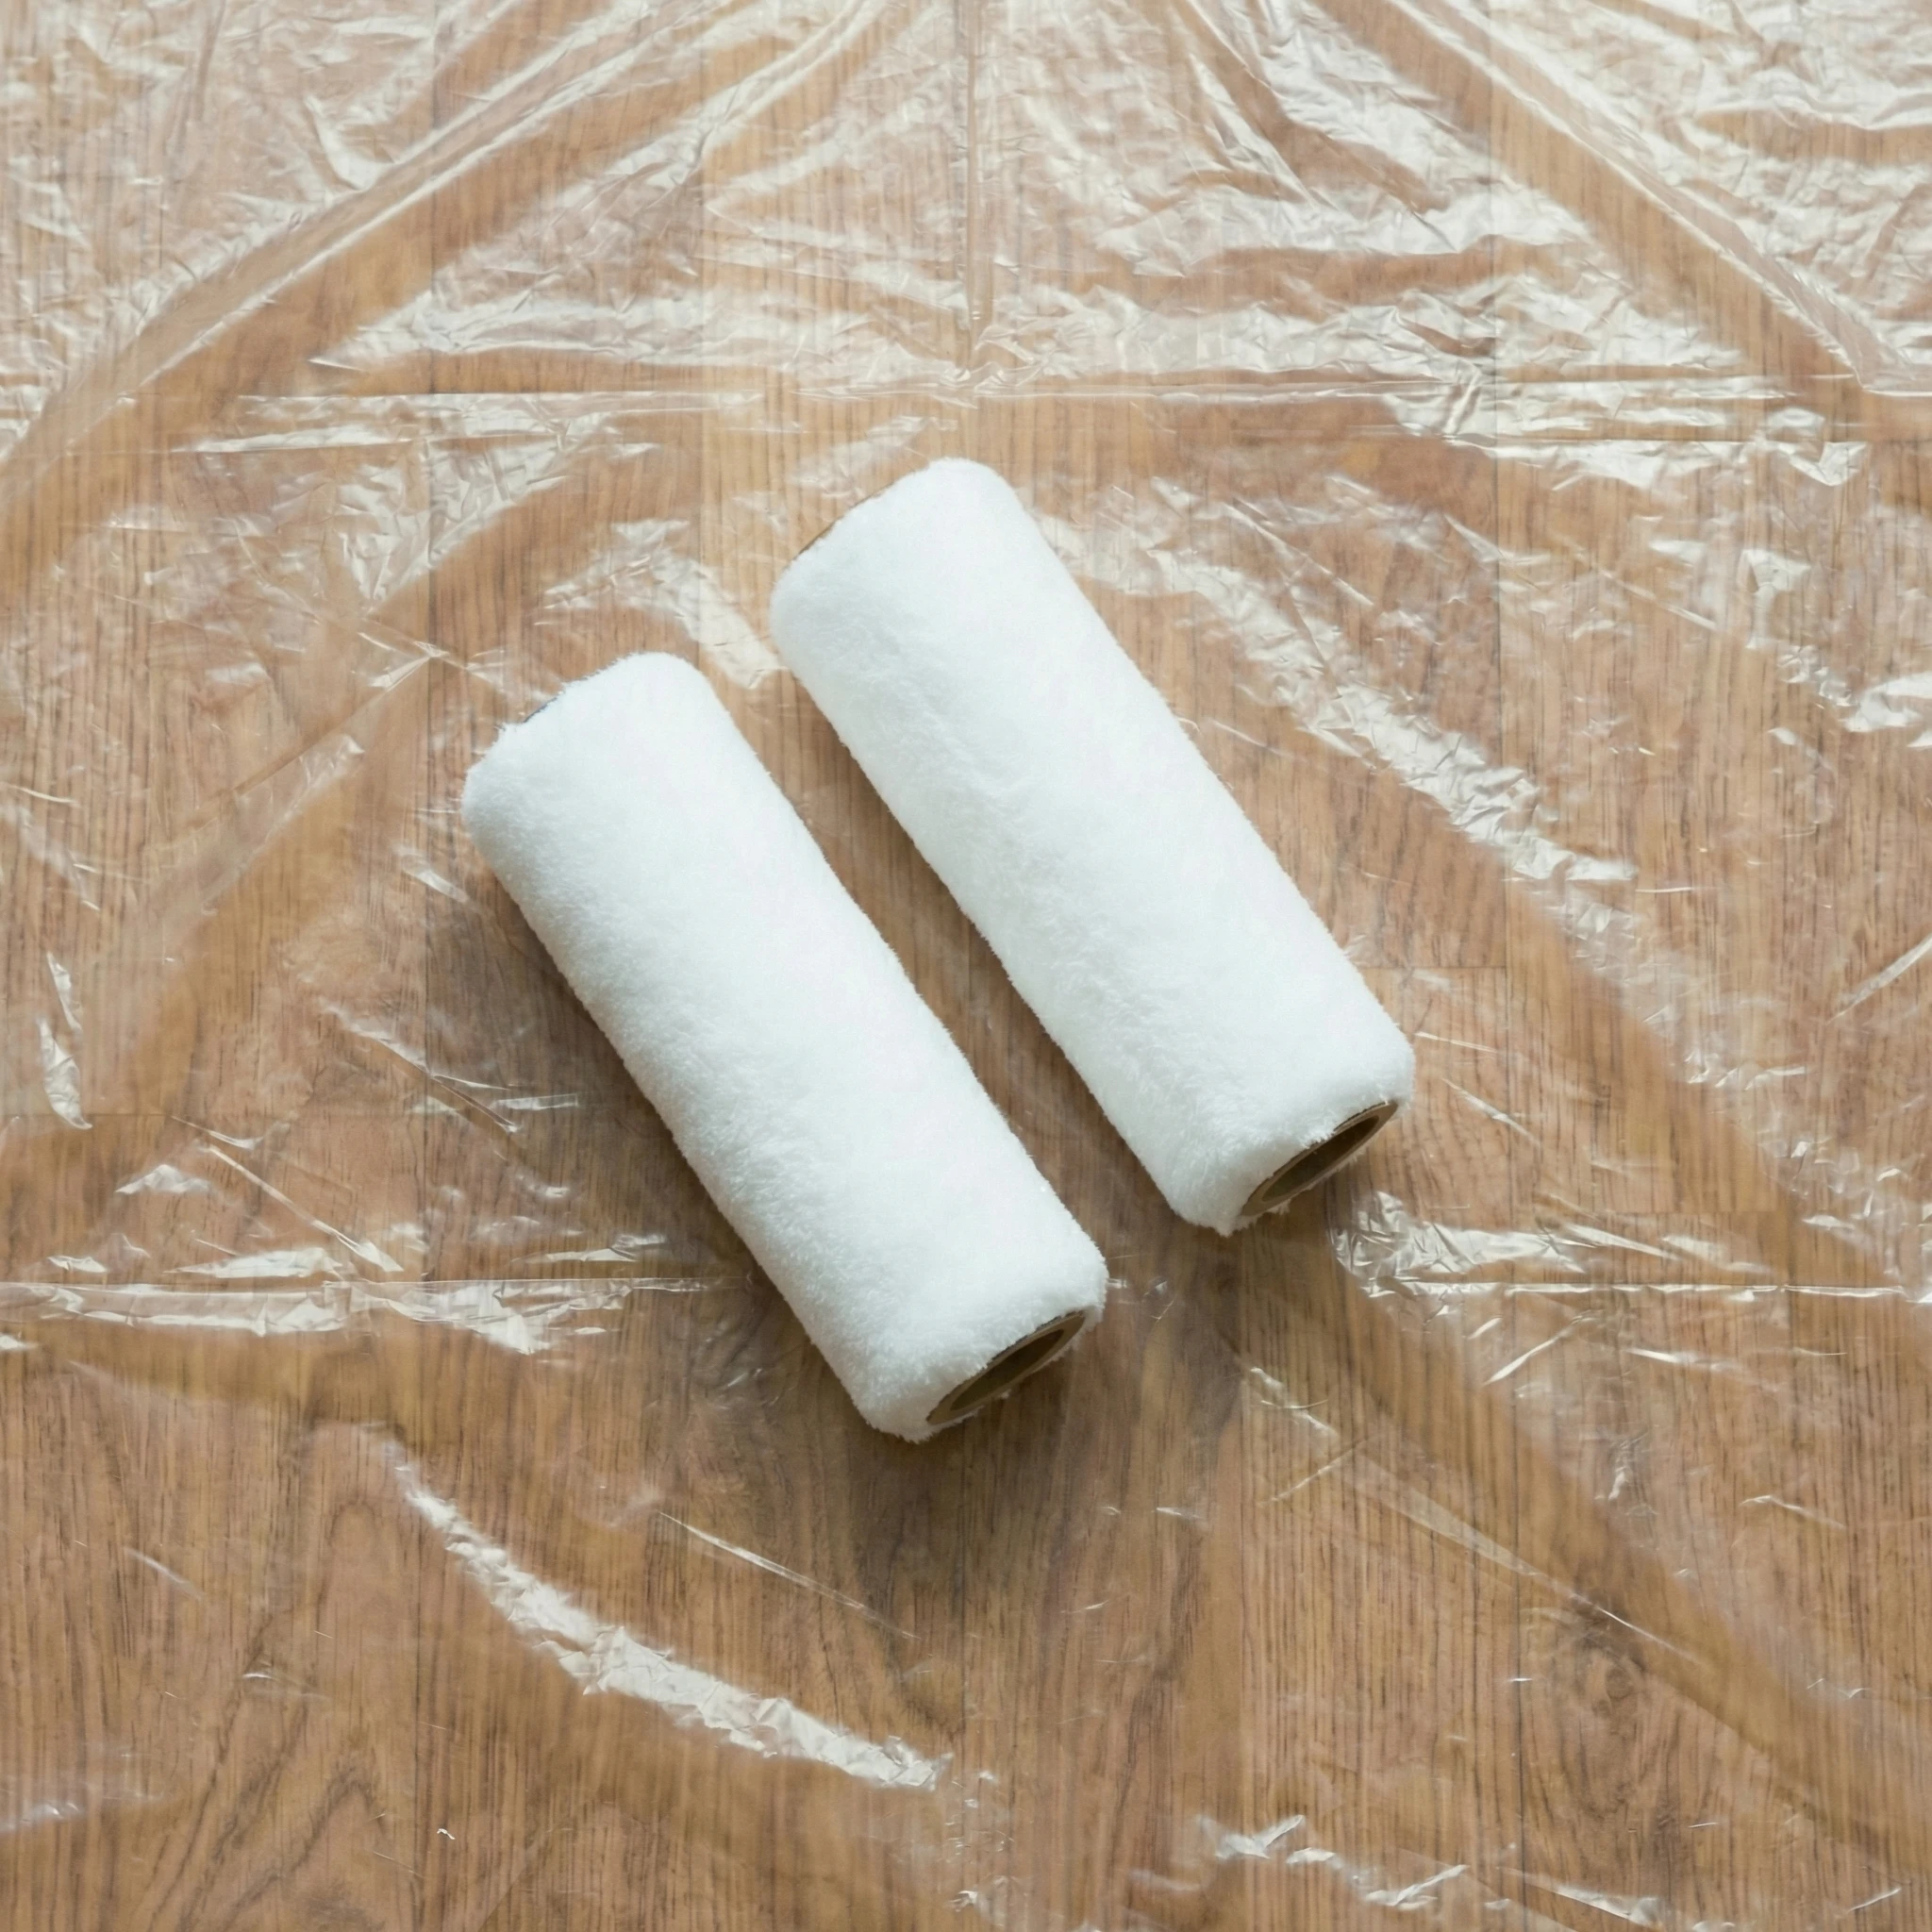 Roller covers
3/8-inch nap for smooth walls, 1/2-inch for textured
Roller covers
3/8-inch nap for smooth walls, 1/2-inch for textured
 Drop cloths
Canvas or plastic
Drop cloths
Canvas or plastic
Materials
Step 1: prepare the room
Proper preparation is the secret to a professional finish.
Clear the space
- Move furniture to another room or to the center of the room and cover with drop cloths
- Remove outlet covers, light switch plates, and curtain hardware
- Take down pictures and remove nails
Protect surfaces
- Lay drop cloths over the entire floor
- Apply painter’s tape along ceiling edges, baseboards, and window frames
- Press tape edges firmly to prevent paint from bleeding underneath
Step 2: prepare the walls
Clean the surface
Dust and grime prevent paint from adhering properly. Wipe walls with a damp cloth or use a mild detergent solution for kitchen and bathroom walls where grease may be present.
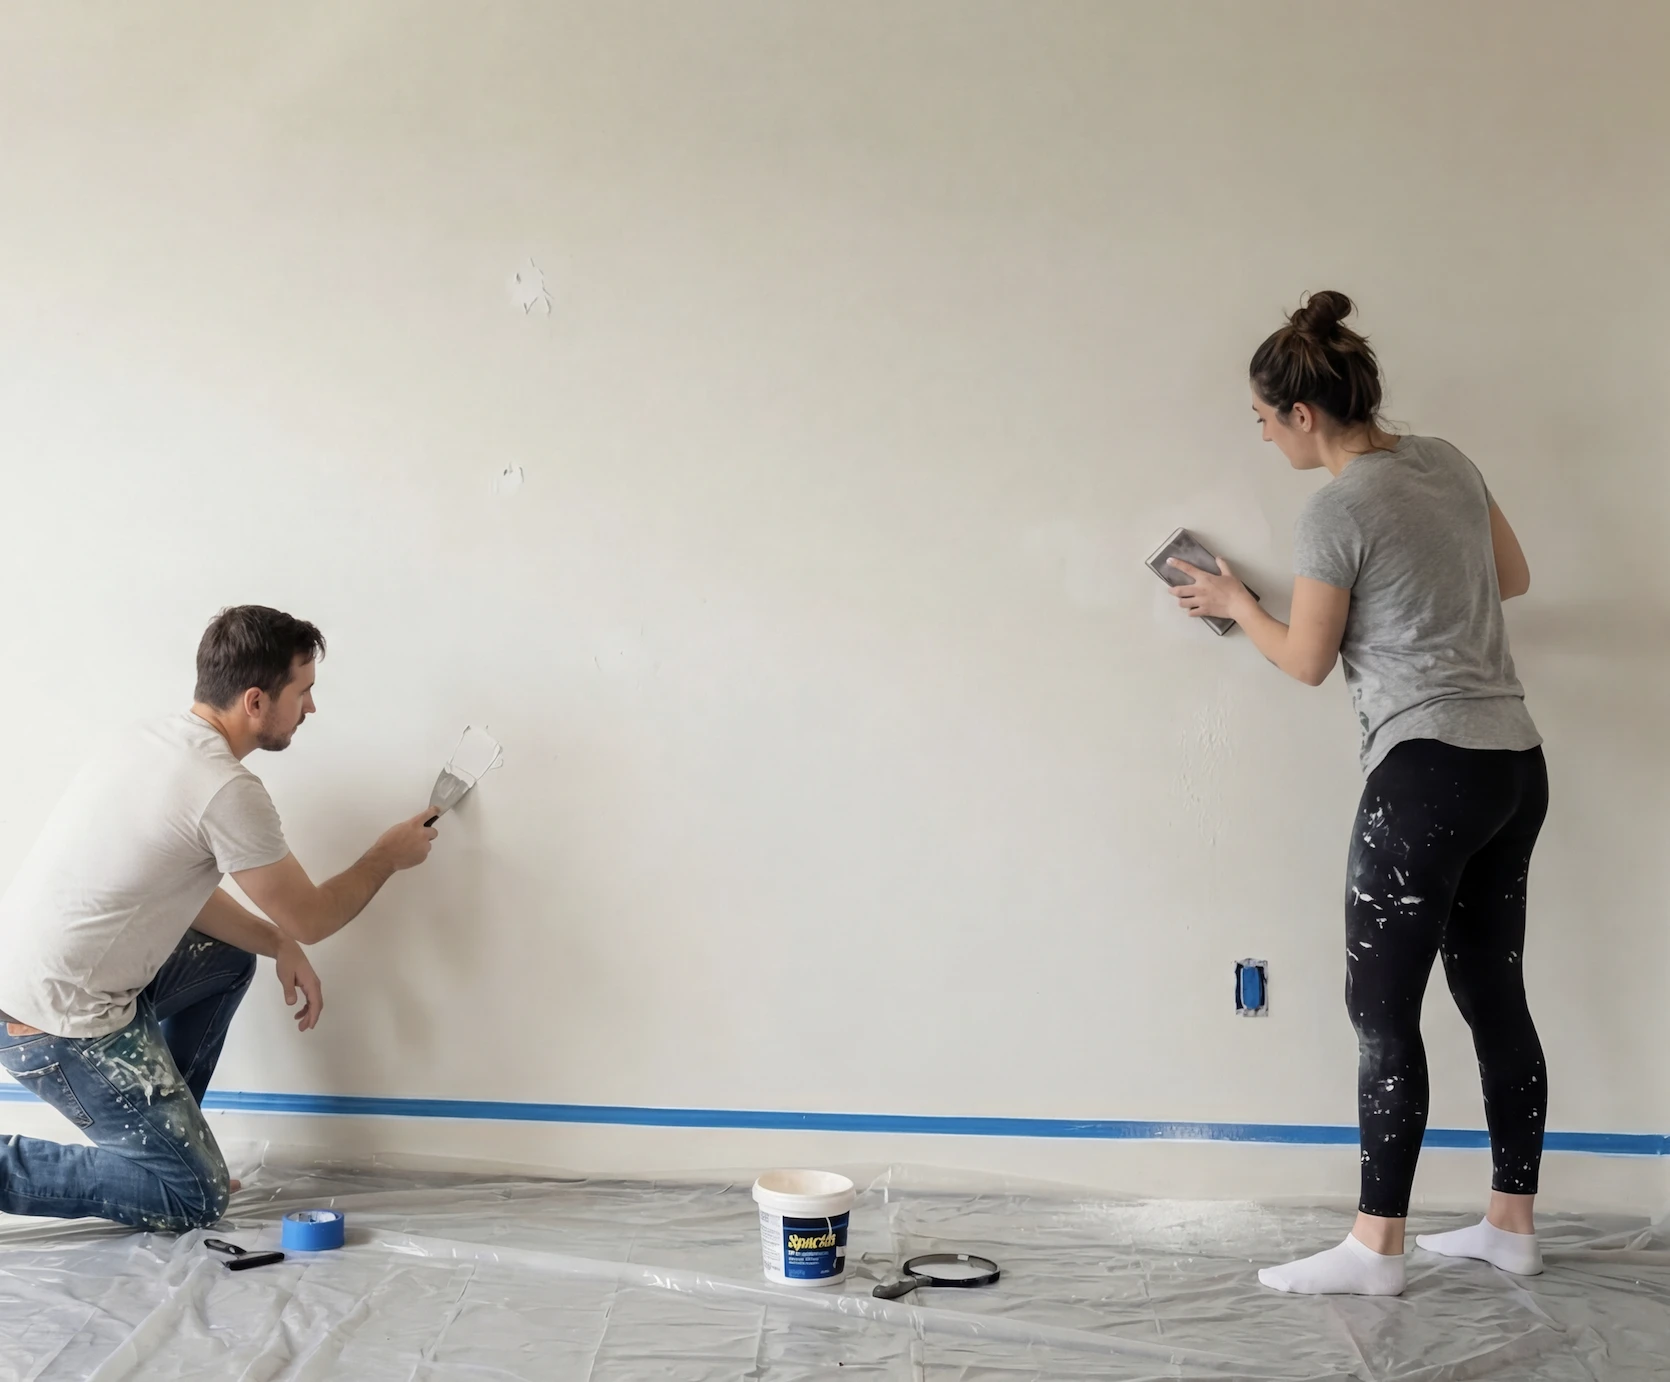
Repair imperfections
- Fill holes and cracks with spackling paste
- Let dry completely (usually 24 hours)
- Sand smooth with fine-grit sandpaper or a pole sander if you have one
- Wipe away dust
Prime when necessary
Apply primer if you’re:
- Painting over dark colors
- Covering stains
- Painting new drywall
- Making a dramatic color change
Step 3: apply the paint
Load the roller
- Pour paint into the deep end of the tray
- Roll the roller through the paint
- Roll back and forth on the tray’s ramp to distribute evenly
- The roller should be saturated but not dripping
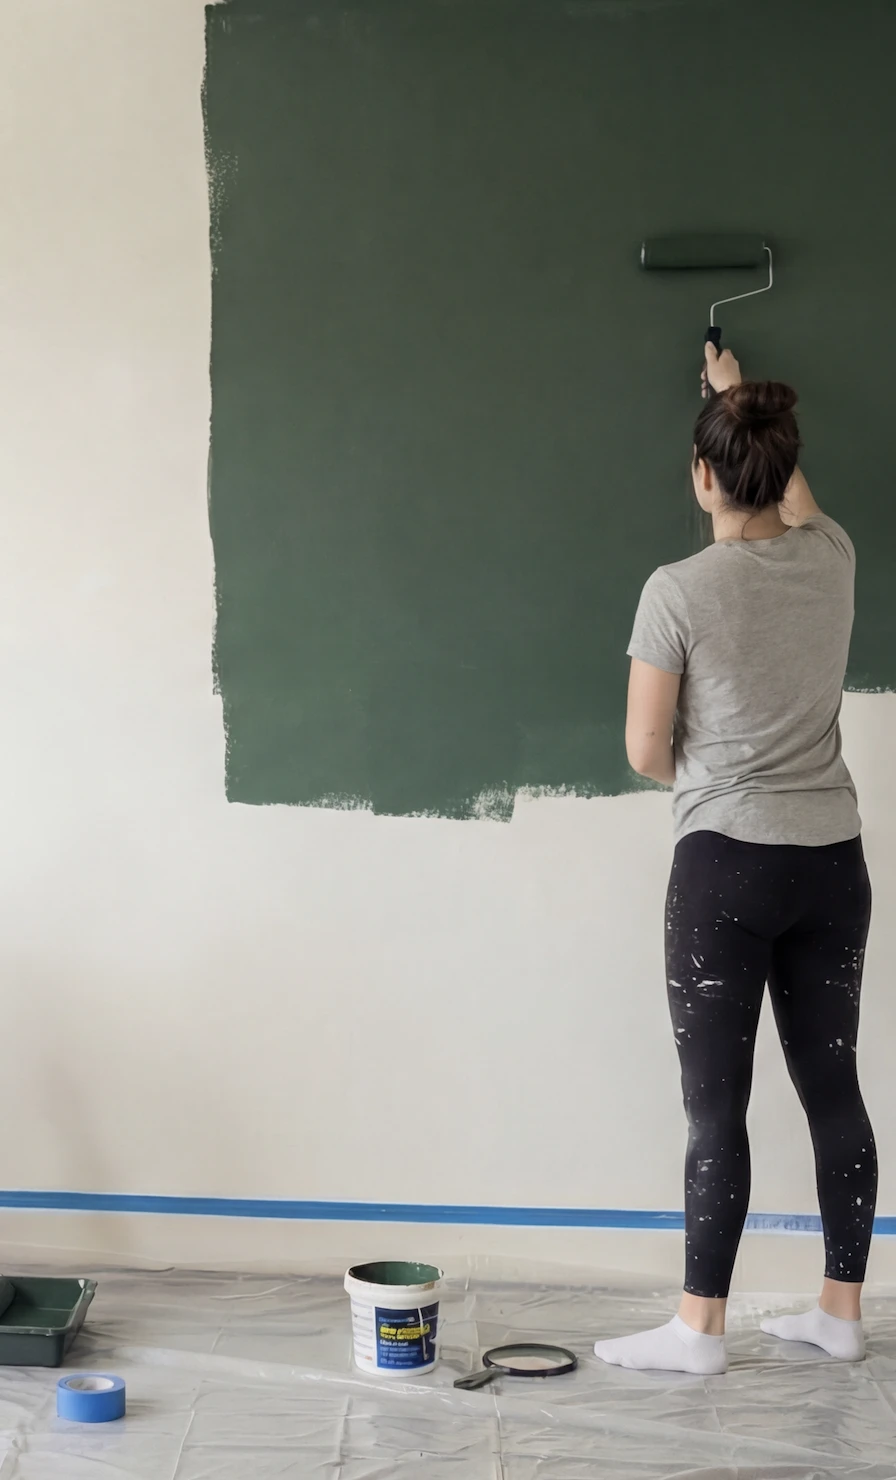
The square method
This technique ensures even coverage and avoids lap marks:
- Work in sections of about 1 m² (10 sq ft) - Imagine an invisible square on the wall
- Apply horizontal passes - Spread the paint across the full width of the square
- Cross with vertical passes - Go over perpendicularly to distribute the paint evenly
- Smooth with light vertical strokes - Always finish in the same direction for a uniform look
- Move to the next square - Slightly overlap the previous section while it’s still wet
Important tip: Always maintain a “wet edge”. This means you should paint the adjacent square before the edge of the previous one dries. This prevents visible demarcation lines between sections.
Maintain consistent pressure
- Apply medium, even pressure
- Don’t press too hard (causes streaks and roller marks)
- Don’t go too light (leaves thin, uneven coverage)
Step 4: drying and second coat
Wait for proper drying
- Most latex paints dry to the touch in 1-2 hours
- Wait 4-6 hours before the second coat (check paint can instructions)
- Don’t rush - painting over tacky paint causes peeling and bubbles
Apply second coat
A second coat is almost always necessary for:
- Complete, even coverage
- True color depth
- Durability
Repeat the cutting in and rolling process for the second coat.
Step 5: finishing touches
Remove tape carefully
- Remove painter’s tape while the final coat is still slightly tacky
- Pull at a 45-degree angle away from the painted surface
- If paint has dried, score the edge with a utility knife first
Touch-up
- Keep leftover paint for future touch-ups
- Use a small brush for any missed spots
- Feather edges to blend with the surrounding area
Clean up
- Clean brushes and rollers immediately with water (for latex paint)
- Store leftover paint properly sealed
- Replace furniture only when paint is fully cured (usually 24-48 hours)
Common mistakes to avoid
- Skipping primer - Leads to uneven color and poor adhesion
- Overloading the roller - Causes drips and uneven texture
- Painting in direct sunlight - Paint dries too fast, leaving marks
- Not maintaining a wet edge - Creates visible lap marks
- Using cheap brushes - Leave bristles and streaks
- Rushing between coats - Results in peeling and bubbling
- Ignoring ventilation - Slows drying and concentrates fumes
- Not respecting the temperature - Paint in a room between 50°F and 77°F (10°C to 25°C). Below 50°F, paint dries poorly and doesn’t adhere well. Above 77°F, it dries too quickly and leaves marks
Visualize before you paint with Fenchoui
Not sure which color to choose? Use the Fenchoui app to visualize different paint colors on your walls before you buy a single can of paint. Simply upload a photo of your room, select from our color painting options, and see a realistic preview of your newly painted space.
This helps you:
- Compare multiple colors side by side
- See how lighting affects your chosen color
- Avoid costly mistakes from choosing the wrong shade
- Share previews with family and friends for feedback
With these techniques and tips, you’re ready to tackle your next painting project with confidence. Remember, patience and preparation are the keys to achieving professional results. Happy painting!